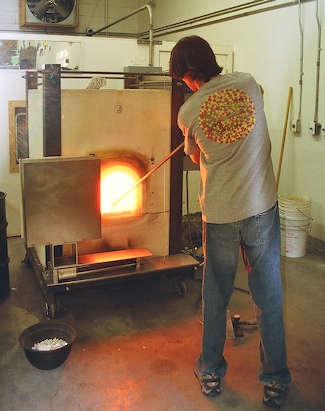
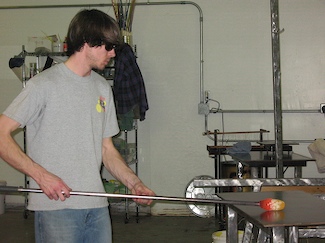
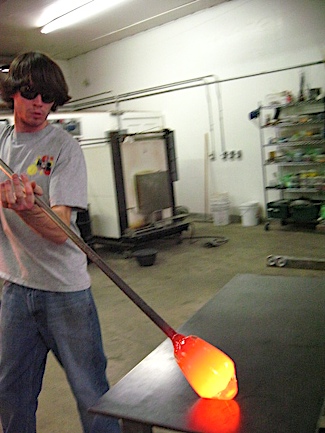
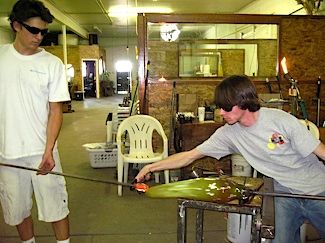
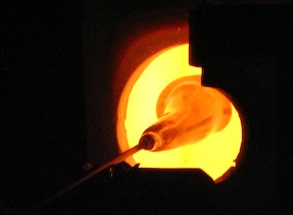
This is the begining of it all. Here, I (Brett) can be seen taking a gather of molten glass from the furnace. The furnace keeps 250lbs of glass molten at all times. The glass that comes out of the furnace is clear, color will be added later in the process.
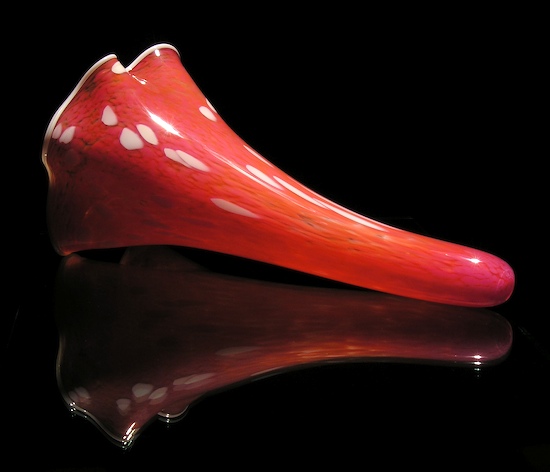
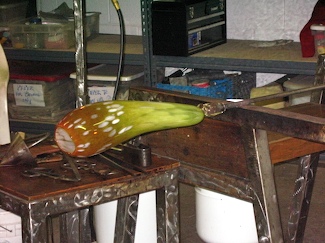
What I'll be making:
.jpg)
The glass is at a temperature of 2100 degrees Fahrenheit when it comes out of the furnace. The glass is extremely fluid at this stage and requires a great deal of effort to keep in a cohesive shape.
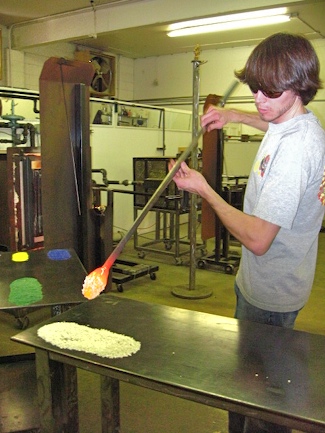
Immediately after taking a gather, I head for the marver (steel table), where I roll the molten glass over shards of color. These shards vary in size and are known as "frit." The color sticks to the glass and is "melted in" using the "glory hole" which is a reheating station.
Hot glass is inherently orange and all colors can be dramatically distorted when they are hot.
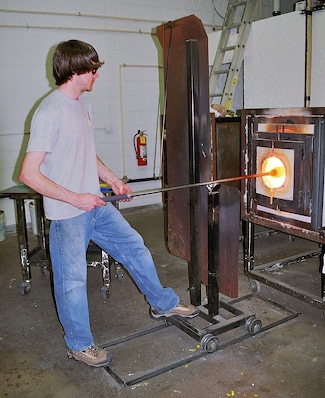
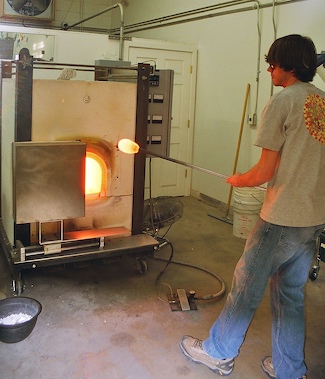
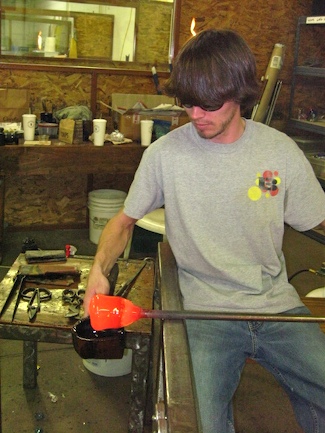
This is the glory hole. Here I am melting the color into my first gather.
The glory hole will be used in excess of 25 times throughout the creation of this Sprout. It is safe to assume that I have made use of the glory hole at least once between every step of this process.
The amount of time spent inside the glory will determine how hot the glass becomes. The depth to which the glass is inserted will determine where the glass receives the most heat. This is crucial, and takes many years to learn.
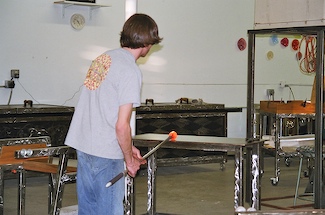
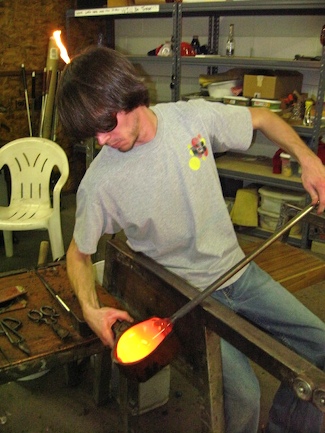
I then return to the marver to give the glass the desired shape and temperature distribution for "popping the bubble."
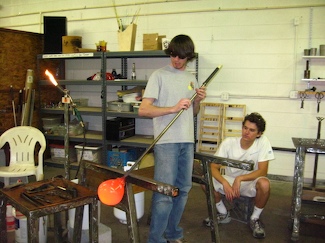
Here I can be seen popping the bubble.
Up until this point, the glass on the end of my blow pipe has been solid. To make any kind of a vessel, you must pop a bubble into the glass.
The best way to accomplish this is to blow high pressure air into the blow pipe. This air is then trapped inside the pipe by the thumb. As my thumb is now holding the air pressure inside the pipe, I can observe the growing bubble of air and release the pressure at the appropriate time.
The piece has passed it's first hurdle towards success. The glass is now shaped and cooled in preparation for taking the second gather.
We will now fast-forward through the second gather and go straight to the third and final gather for this piece.Pay careful attention to the shape of the glass in the following images.
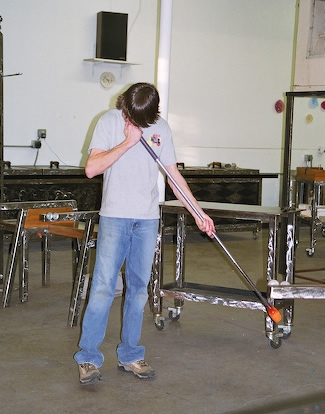
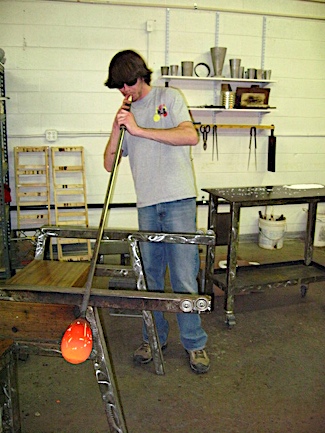
Using a hollowed out piece of wood known as a "block", I am about to begin shaping the glass into a Q-Tip like shape.
Blocks are kept submerged in water, as the water vapor created by the heat of the glass will act as a lubricant between the glass and wood.
The act of using a block is known as "blocking". Not the the most glamorous of words... Here I am blocking the glass at an angle to help get my desired shape and draw glass off of the pipe.
Any glass that is not off of the end of the pipe (the "moil") will become waste.
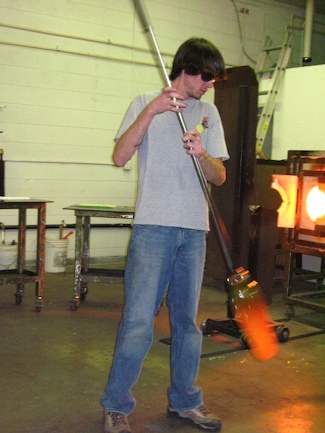
At this stage, blocking has been completed. I will now begin to blow the glass out into a Sprout. Here I am settling the shape of my bubble having just completed the blocking process.
The glass has just returned from a strong reheat and is taken to the marver to cool the tip. The tip of the glass heats up the most and as a result can blow out very thin if not carefully monitored.
The tip of the glass will become the bottom of whatever vessel is to be made. Marvering at an angle is a difficult skill to master, but is necessary for creating large pieces.
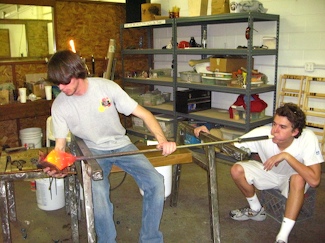
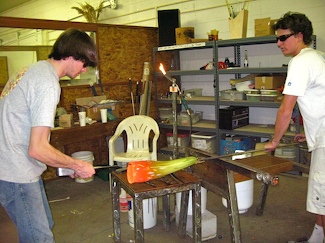
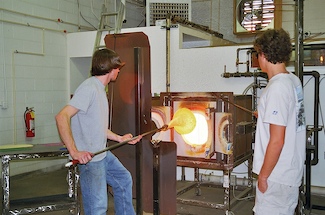
This is where team work is very helpful. In this image, my assistant Greg Rocheleau is providing the air pressure. I am the "gaffer", the person in charge, and I will instruct Greg as to when and how hard to blow into the blow pipe.
I am using a carefully folded pad of wet newspaper to strategically cool the tip (or any other part) of the glass.
Temperature is crucial, as the glass will blow out where it is the hottest. By controlling the temperature of the glass you can control the shape and thickness of the piece.
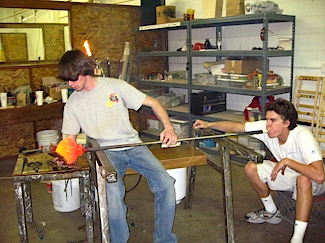
Compare the glass in this image against the previous image. The glass has noticably increase in size.
The "paper", which I mentioned above will actually burn despite it's having been soaked in water. It is the combination of water vapor and carbon (burnt newspaper) that provide the lubrication between the wet paper and the glass.
This is the closest you can get to touching the the glass, as close as an 1/8".
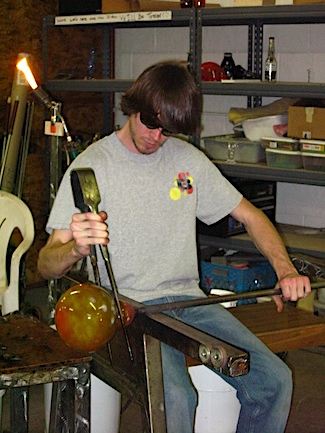
I am using a tool known as the "jacks" to place a "jack line" in the bubble of glass.
The jack line is a constriction that is made just off of the end of the pipe and is the location where the piece will break off the blow pipe. This will come later.
The proper and efficient use of the jacks is another skill which takes many years to develop. This is just one of the many uses of the jacks. A glassblower and his jacks become inseperable with time. Some have even been known to use them in place of chop stix...
Just kidding, the jacks are lubricated with wax.
The glass has now been blown out to it's maximum volume. You might be wondering when this orb of molten glass will become a Sprout. All that is to come in the following images.
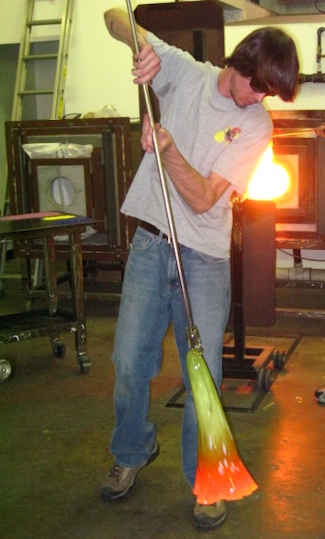
A mid-swing image of the elongating piece of glass. Through a series of careful reheats and many swings, the glass begins to take the form of a Sprout. The taper of a Sprout is concave in form. This concave curvature is difficult to make smooth, but is a challenge I enjoy emensely.
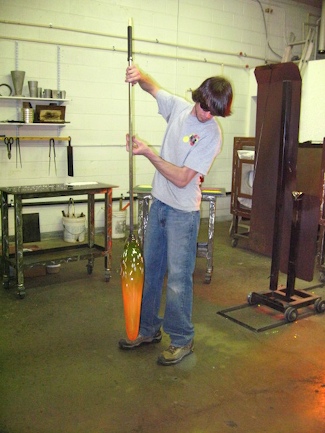
After the proper taper has been applied to the glass, the entire piece is heated and held at an angle create the signature curvature of a wall mounted Sprout.
Sprouts designed to stand will not receive this taper. Instead, they will be given a foot to stand on.
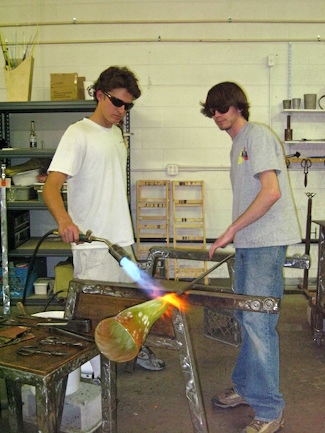
From this angle, the bannana-like curvature can be seen. I am using the propane torch to heat the "shoulder" and jack line of the piece. These portions of the glass spend the least amount of time in the glory hole, and must be kept hot with the torch.
Here, Greg has brought to me the "puntil".
The puntil is a solid rod of metal which has a small gather of glass on the end of it. This bit of glass has been carefully prepared, as the puntil will carry the piece until it is finished.
I am using my tweezers (a very large version) to place the puntil on the tip of the Sprout. When Greg is ready, I will add a drop of water to the jack line (sizzle sound) and hit the blow pipe with my tweezers.
These actions will cause vibrations to fracture the jack line, thus detaching the piece from the blow pipe.
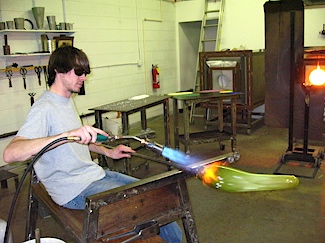
Here is the Sprout now attached to the puntil so that I can complete the top of the Sprout.
The line of fracture on the end of the piece is clearly seen and the white interior color is now visible.
Here I am seen opening the piece with my jacks.
Ordinarily this would be done while seated at the bench, but this Sprout is so large that I must work from outside the bench while Greg rotates the piec for me.
Compare this image to the previous to see the difference.
The piece is heated near the puntil in preparation for the final event.
Here we can peer inside the glory hole to see the piece getting "hot and floppy." Both left doors have been opened in preparation...
When I give the signal Greg will open both right side doors while I begin cranking the piece open with centrifugal force.
Doors open, and for a moment, the "witch's hat" is in full bloom.