'69 Bulkhead Refurbishment
Day 2
 |
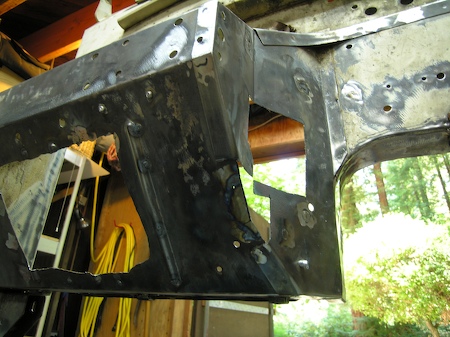
I got tired of having access to only one side of the bulkhead, so up it went. I chained it to the ceiling before tack-welding the base to the table. A strut of round bar was added for better support. |
|---|---|
 |
This really changed the work environment for the better. Work on the bulkhead has required access to both sides at once in order to use a hammer and dolly. |
 |
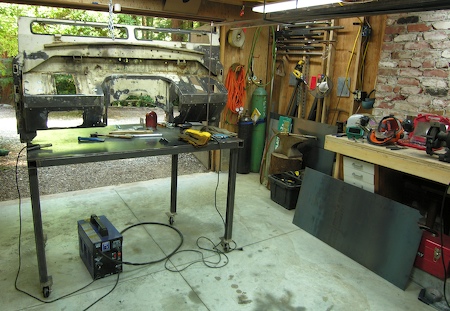
An overall shot of the workspace. I've found the tank cap to be quite handy as a dolly for those curves in the tunnel. My overhead steel rack is also visible |
 |
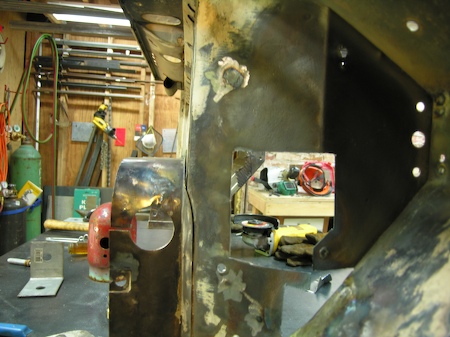
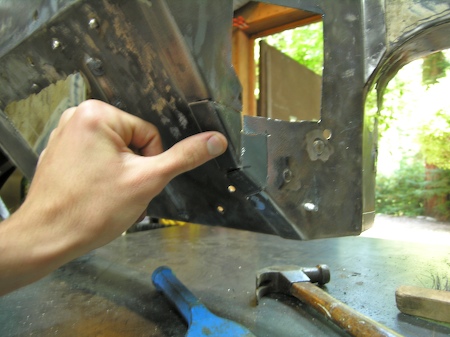
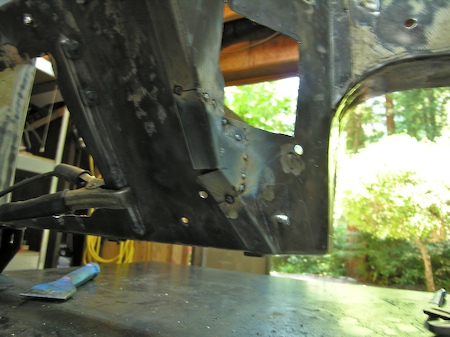
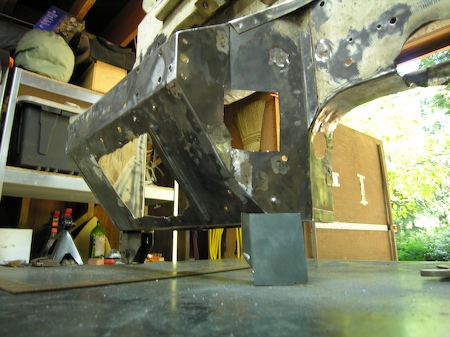
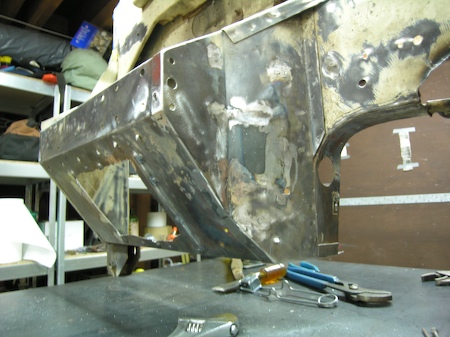
The metal corner. |
 |
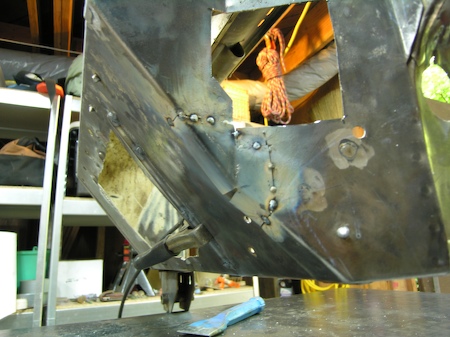
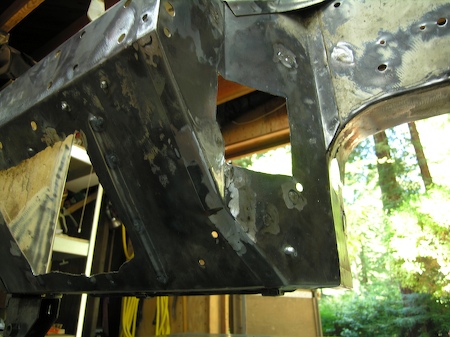
The inner PS footwell trimmed in preparation for patching. If you look closely, you'll see that I've already welded a patch into the base panel. That patch was about a finger in size. |
 |
Interior view of the above. The patch mentioned above has already been ground and polished, visible in this photo as repaired. |
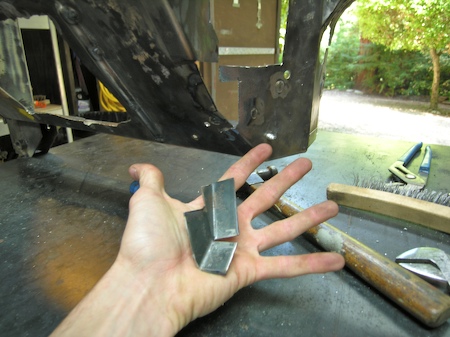 |
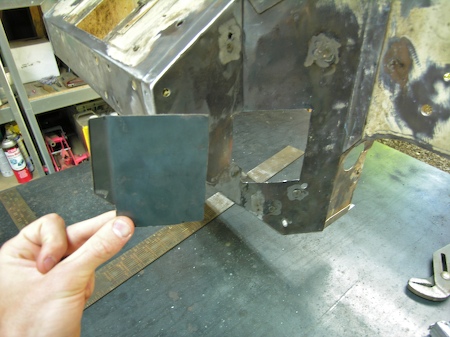
The lower patch piece cut, bent, and ground to fit. Three seperate bends creating 4 distinct plains. Alot going on for a little piece of metal! |
 |
Properly oriented for installation. |
 |
It is extremely important that you get a good fit with your patch pieces. This patch probably took me close to two hours to create. I recomend a paper tracing to help get the metal cut out correctly. Leave a little extra for errors. The bench grinder will help to take care of the rest. |
 |
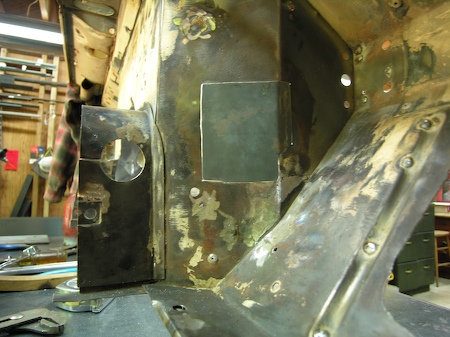
All tacked in place. The sequence of your tacks is very important. Every tack will pull the patch in a different direction. A hammer is used to persuade the patch into the proper position for each tack. |
 |
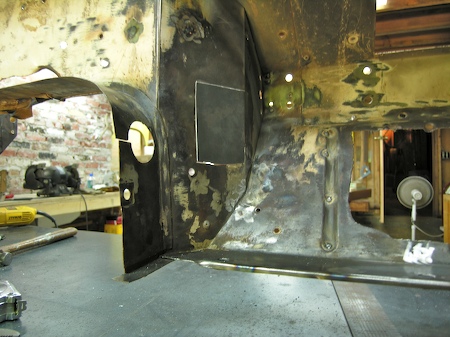
Another view of the patch. Notice the vertical bend to match the bulkhead contour. |
 |
|
 |
|
 |
|
 |
|
 |
|
 |
|
 |
|